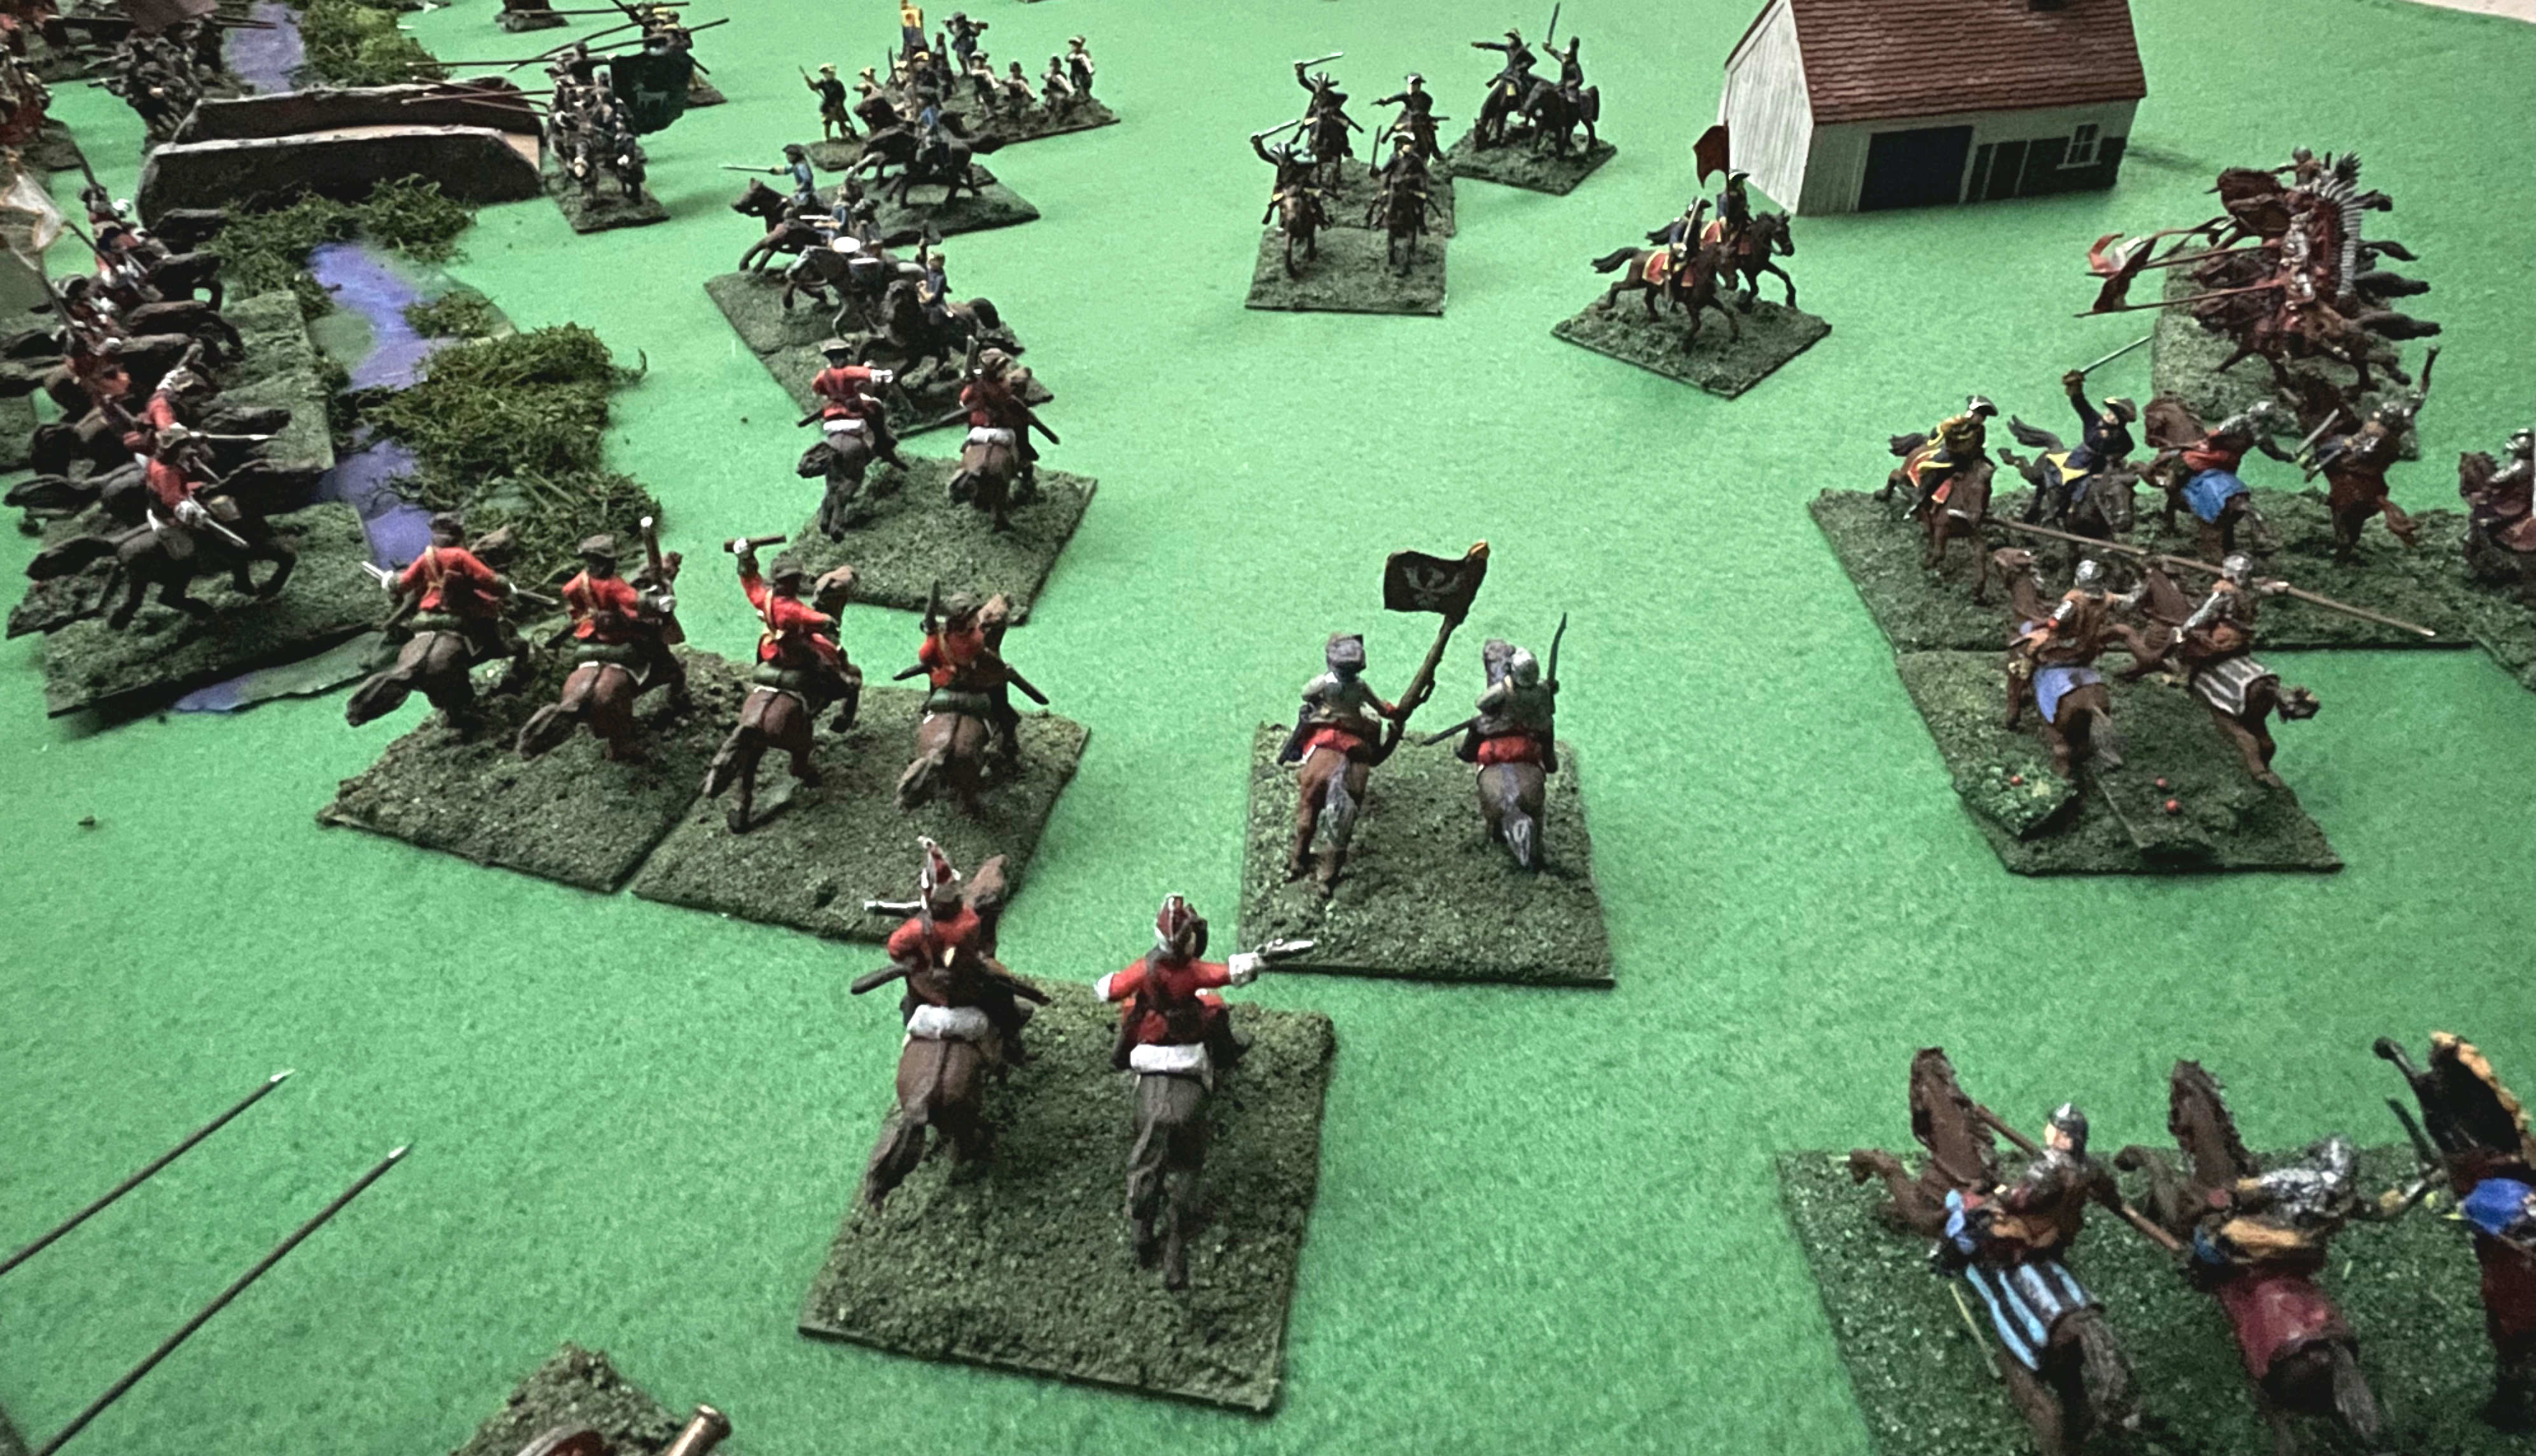
Saturday, November 5, 2022

Klissow with Polemos Great Northern War (3): getting in deeper, ending and conclusions

You remember last time... (cue Batman music)

The Swedish infantry had finally come to grips with the Saxons, doing well on the left of the line, but either remaining engaged in mêlée or failing to come to grips on the right. Meanwhile, the Polish cavalry (in particular) were getting the better of the Swedes on their left flank.

We pick up the game/battle in the sixth stanza.

Tempo die rolls were '3' and '4' for Saxons and Swedes respectively, giving six and nine points to 'spend' on winning the initiative and/or sending to sub-commanders. 'Not a sausage' was Augustus' bid, while Charles bid three. Initiative to the Swedes.

The Saxon bombardment was ineffectual.

The Swedish infantry not yet engaged attempted to charge again. No go, but they were able to conduct offensive fire (an option that I had missed in previous turns).

The fire was ineffective. The on-going mêlées continued.

On the left the cavalry mêlées continued too, apart from a 'recoil' result for one of the bases of Swedes.

All of the Saxon infantry that were able fired in their turn...

resulting in a base (battalion) of Swedes breaking!

Flemming's cavalry continued to have some success against Frederick of Holstein-Gottorp's men. (The latter was mortally wounded early in the historic battle.)

After part two, I had commented to Julian that I had been rolling better for the Saxons than the Swedes. This all changed in turn seven.

The cavalry that had been made to recoil charged again...

breaking their Saxon opponents!

The Swedish infantry went in again, with a battalion from the second line filling the gap created by the broken battalion from the previous turn. This drew Saxon defensive fire, which was ineffective...

and the Swedes pushed back the Saxon line at a further two points.

In their phase, the Saxon battalions fired, but all without effect.

It was now a disjointed Saxon line indeed.

After two complete turns of mêlée with no result, these cavalry retired to re-order their ranks (a rule that I 'discovered' just in time!).

The number of bases that had routed was basically the same on both sides.

While this was going on, Raven (left) and Xena observe a bit of racing action as one of the shed's spiders tried out the chariot racing track.

Good tempo rolls by both sides.
I followed Julian's 'command directive', as I did not think that the Saxo-Poles were in a position to take advantage of winning the initiative. Swedes won initiative again.
In hindsight, this was a mistake.
The Saxon bombardment was once again ineffective (bottom dice roll).


Time to get serious. In went Rehnskiöld's cavalry,...

while von Liewen's infantry continued or re-entered the fray.

Rehnskiöld's cavalry had great success, breaking two opposing bases and driving others back.

The infantry attacks were less decisive, save for a Swedish battalion in the centre that broke.

On the Swedish left, Holstein-Gottorp's cavalry were looking weak and exposed.

This is the first of four photos showing the entire battlefield at this stage. Very much in the balance.


Augustus really had needed to win the initiative. These hussars/pancerni were in a great position to charge, but, with only two tempo points available to Lubomirski and three required for a non-tempo unit/group to charge, could not!
I had previously, erroneously, only 'charged' them two points to charge. At first I thought that I would let it go again, but decided to stick with the rules as writ.
At the time this seemed to me to be problem with the balance between the number of points likely available and those required for the non-tempo player. I came to a different understanding as I went on... (see 'Conclusions').

Being closer to Augustus, Flemming's cavalry were able to charge (above) and made good use of the opportunity (below)!

Back in the centre, Saxon infantry fire was once again ineffective.

The trend of the tempo die rolls continued in the next turn: no chance that Augustus could win the initiative with these rolls!

There was a change for the Saxon bombardment (ten on the two dice above). The result required the expenditure of an extra tempo point by the Swedish infantry and produced a shaken level for two units of the command.

When we had played the turn and a bit which began part two of this game, Julian had asked me about higher-level morale. I thought that it was done at an army level only. When I I re-read the rule, I found that I was wrong. It is done by command and the opponent 'invites' the other player to test one or more commands; at any time during the turn (only once per command).

Augustus duly 'invited' Charles to test for Holstein-Gottorp's cavalry. At just over 40% broken or in rout, he failed with a roll of 13.

Failure of morale for a command is not an all-or-nothing result as it is in so many rules. There are four levels of result depending on the level of failure. Holstein-Gottorp failed by the smallest margin, resulting in a 'shaken' command and an extra shaken level for each base—causing one base to break.

As intended by the rules, this was unsettling for the Swedish command. The Swedish right flank cavalry (Rehnskiöld) and von Liewen's infantry redoubled their efforts, both causing further Saxon bases to break (above and below).

What remained of Holstein-Gottorp's left flank cavalry had a go too, trying to steal a victory, or at least to inflict damage before a worse morale result occurred. Alas for him, no against-the-odds wins resulted.

With the losses of additional bases, Charles 'invited' Augustus to test morale for Steinau's cavalry and Schulenburg's infantry. Both passed.

In the Saxo-Polish phase, two more bases of Holstein-Gottorp's command were routed.

The rolls for tempo and bidding for initiative had been amazingly consistent all game. Swedes took the initiative again. It was back to 'normal' for Saxon bombardment too; no effect.

'Invited' to test morale once more, Holstein-Gottorp's command failed and broke.

More of Steinau's cavalry broke before the charges of Rehnskiöld's troopers (above), the Saxon commander was able to avoid being captured during pursuit (below), while more of his men broke in mêlée (further below).

Another two bases of Schulenburg's infantry were also broken (bottom right of photo).

'Invited' to test morale, Steinau failed.

Command broken.

Schulenburg's infantry passed.

It seemed time to call the game. I rolled for tempo once more, to see perhaps whether Augustus could win it and make some attacks on the Swedish left. He did not (I thought that I had taken a photo of the die rolls, but hadn't!). Game over.

This photo shows the parlous state of the Saxon left. The infantry would be encircled in one to two turns by Rehnskiöld's fresh bases (top left) as well as some of the Swedish infantry that were breaking through.


There were plenty of enemy cavalry on the Swedish left, but Charles had refused that flank and moved the cavalry reserve to face them. Having the initiative, he would be able to complete the job. For their part, being the non-tempo player, the Saxons and Poles would not be able to make many aggressive moves in their phase. They would though, be able to cover the retreat.

Stars of the show: these stout Saxon infantry in the centre of the line, had resisted attack after attack.
Despite that, without a left flank, they would not last much longer!

Wow, what a game and a see-sawing close thing it became. It really drew me in. My intention of simply playing a few turns to experience the mechanics and then packing it up went out the window completely.

Conclusions

After this, the Polemos Great Northern War rules remain very much 'in play'. I appreciated the mechanics more and more as I went on.

The integrated mechanics for firing, charging and mêlée take a little while to work out, but are quite brilliant. The roll of the die at first seems to be a big factor, but after lots of examples, the balance between the random factor and modifiers for quality, type and situation seemed appropriate. A result was not determined by the die roll of each side, but they impacted the level of the outcome. Having both sides roll is a mechanic that I like as it produces a random factor that is better distributed. There were no cases where, for example, a unit in a really poor position broke a better/stronger/better-placed unit. Some close situations were turned to decisive ones for one side or the other by a large differential in each side's die roll. I was not annoyed by this, as it allowed for tie-break results and the outcome was generally a 'recoil'.

Musket fire was not particularly effective in this game, even at close range. This did not seem too out of order. I was particularly good at rolling the same for both sides, often low for both. In addition, as the Swedes sought to come to grips on most occasions, there were not sustained periods of musket fire that could be expected to whittle down one side or the other (or both!).

The (mis-named) 'Army Morale' rule is one of the better versions of this that I have experienced. Too often such rules are quite blunt and have a huge impact, suddenly creating giant holes in a line that did not occur in reality. The levels of failure in Polemos Great Northern War allow for a more nuanced result, only becoming devastating when a command is in really bad shape. The rule also has a mechanic for a 'climax test' of an entire army. This would likely have been used if I had played a turn or two more and come to see Steinau's command broken, but I did not get to this.

The tempo mechanic, the defining one of the Polemos rule series, is the one that troubled me the most. Initially it seemed okay. The effect of too few tempo points, even for the Swedes, meant that either only front line troops moved or acted, or action needed to slow down so as to bring up the rear bases. The latter may be the intention, but I do not consider it desirable from a game perspective, nor in keeping with the historical version. My change to make basic movement 'free' seemed to fix this (for me) and did not produce any outrageous results (in this game). My next problem was the huge difficulty in moving bases of the non-tempo player. At first I considered using the same 'charges' for both tempo and non-tempo, but reasoned that this could be quite distorting and also undermined the importance of wining the initiative. This is the key to the mechanic. It is really important to win it, but it can 'burn up' tempo points to do so, limiting what the commander can achieve. I re-read the account of the battle in the Great Northern War Compendium and it seems that this is in keeping with the historical version. Charles had the initiative at the start, moved through the wood and re-aligned the army. Augustus then took the initiative, Lubomirski's cavalry charged, as did Steinau's, with Flemming's following out of sequence (next turn?). These charges did not go as well as expected, Charles won the initiative again and the Swedish cavalry counter-attacked. Taking the initiative again, the coup de grace was provided by the infantry attack in the centre. So, perhaps it is reasonable to put a huge weight on the initiative and to limit the non-tempo player. This helps to give me a greater appreciation of the mechanic, but I am not yet completely comfortable with it. I'll see how I go in later games using these rules.

I will definitely use the rules again. They are a choice of horse for particular course (level of game that I desire). That said, the next game with them won't be for a while, as another game of Klissow, this time with GåPå, is my next plan. For that game the armies need to be expanded for the ~50% increase in scale, which will keep me busy for a bit!

Saturday, October 29, 2022

Klissow with Polemos Great Northern War (2)

Three more turns completed; things are hotting up and it is getting really interesting.

(A lot of explanation/preamble follows, so feel free to scroll to the piccies!)

The game has now been 'hanging around' for over a month. I had been using the time since part 1 to prepare some more figures, while also applying additional paint to some of those on the table (removing a base at a time, marking the spot). This was not particularly efficient, even by my standards, so I thought that I'd simply do a few more turns, to experience the mechanics further, as well as my changes^, and then pack it up.

This had still not occurred by Thursday evening, when Julian came over for a catch up, a couple of drinks and to chat about grand plans for a future campaign. Seeing the table still set up, he was happy to play out a few turns while he was here. It took us a while to get going again, since we were picking up rules that we'd only played once, so we only completed a turn and a bit, but with much useful discussion. I completed two more turns yesterday.

It was great to get Julian's input, especially as it has set-up an approach for me to follow in the role of Augustus when finishing it solo. His approach to tempo bidding is perhaps the most important of these 'command guidelines'.

In our first session we found that there were too few tempo points available to move sufficient troops. This was evident for the tempo player, but even worse for the non-tempo player. It seemed ridiculous that one could only move the front-line troops, or a few of them, especially if they engaged in any manoeuvres or actions. We had discussed adjusting the number of points available, perhaps with some calculation involving the number of brigades and a divisor. While the inherent scaling of this approach has some appeal, it seems unnecessarily complex. Then it came to me. Why not just let troops that are not in the front line move?

^This lead me to what I think is a sensible and viable solution to address the problem and one that is, effectively, already in the rules. A base or group of bases can conduct a basic move (as termed in the rules) for free. This effectively means that it can move forwards, for one move. This free move applies to forces of the tempo and non-tempo player. The base/group must be within five base widths of the commander of the formation. Tempo points are required, per the rules, if more than five base widths from the commander, or wanting to conduct more than one move or to do anything more 'advanced' like charge, move to contact, wheel... Tempo points are also required if the group is more than five bases in size. Like any change, it requires testing, but has held up so far (and has been an improvement over the rules as writ).

What does this have to do with Julian's approach to tempo bidding (his 'command guidelines')?

An important consideration in making any change to movement is the effect on tempo bidding for the initiative. In making this change my expectation was that it would actually add to the importance of tempo bidding. Since troops can move, irrespective of the number of points available, I concluded that it would free-up the player likely to have fewer tempo points (Augustus in this battle) to try to out-bid the player likely to have more (Charles in this battle). Furthermore, the player who more often has more points (Swedish) would be less guaranteed to win the initiative.

Before Julian arrived I had rolled for tempo and 'secretly' allocated tempo bids to win the initiative. I rolled '1' for the Saxons and '3' for the Swedes. This gave them four and eight tempo points to use respectively for bidding for the initiative and/or to send to sub-commanders. I allocated a bid of '1' for the Saxons and '4' for the Swedes, considering that the Saxon player wanted to bid as few as necessary and the Swedish player, with more points to use, wanted to guarantee the initiative. When I showed this to Julian he said, "What is the minimum bid?" We looked at the rules. A bid is done in secret. It does not state that it must be at least one. "Great, I'll bid no points!" he stated. "As Augustus, I can see no point in wasting tempo points as you cannot win the initiative." This set Augustus' approach for me; in the main, at least!

Enough of the preamble. Let the pictures and captions tell the developing story.

I had planned the next Swedish turn since the last session. So, after Saxon artillery bombardment (which caused further disruption to the Swedish cavalry on the left), the infantry advanced and fired, with a view to a later charge (classic Swedish tactics of the period).

It was not particularly successful.
For his part, Julian continued to send cavalry against the Swedish left flank.
With some success.

Next turn saw tempo rolls of '1' and '2' for Augustus and Charles respectively. Charles bid three, Augustus zero.

Sometimes it takes a while, and the input of someone else, to utilise the mechanics of rules as intended. I was wondering how to get the infantry across the swampy stream? They needed to use more than one move, but now the group was broken up. I had been considering that a group had to be formed at the beginning of a move. "Is that the case?" queried Julian. We looked at the rules. Absolutely not. There is no statement that a group is formed at the beginning of a turn. I was bringing that over from Impetus! So, the solution to my problem was to allocate all the tempo points to Lieven's infantry command, to re-align the forward brigade and then execute two additional moves and gå på at the Saxon defences!

We concluded the evening with bombardment (no effect) and the set-up moves of the Swedish infantry. Charge to follow.

I picked up the turn the next day. The charge ensued. Only partially successful. Two Saxon bases (roughly battalions) got to fire, but the Swedish one on the left of the line got in.

With good effect. The Saxon defending unit broke, leaving a gap in the line!

On the left, some success this time for the Swedish cavalry.
The Saxon base from the next line moved to filled the gap, but the resulting test to 'move to contact' meant that the Swedes were able to charge in response, leading to an on-going mêlée.

The remaining Saxon battalions fired at long range.
To little effect, aside from an extra stagger.
On the Swedish left the Polish cavalry set-up for an outflanking charge...
while continuing to do well in on-going mêlées.
Next turn was the exception to the established 'command guidelines'. I rolled '5' for the Saxons and '4' for the Swedes. This was an opportunity too good to miss. Augustus had some extra tempo to spend, so bid five. Charles had a good number, but needed lots to spare for offensive actions, so bid four. Initiative to the Saxons and Poles!
The Saxon infantry fired, hoping to break up the Swedish line.
Some success.
Saxon and Polish cavalry were ordered to charge the exposed Swedish left and far left.

The mêlée would continue for the Saxons, but the Polish flank charge was a winner—go them winged hussars!
In their phase, the Swedish infantry reformed and charged again.

That left-most battalion has driven a large gap in the line.

While two battalions (bases) remain engaged in mêlée.

The struggle is reaching its climax. The Swedes have made some in-roads into the Saxon line, but it has been slow and piecemeal. Meanwhile Lubomirski's Polish cavalry, particularly, but aided by Flemings's Saxon horse, are seeking to exploit the weakness of the Swedish left. Which side will achieve a crucial breakthrough first?

The rules have survived two 'engagements with the enemy' and are holding up well. Nay, I am enjoying them more and more and appreciating the mechanics. Julian said that he finds the taking of staggers rather than actual losses too stylised, but it does not concern me. The overall mechanic of charges, firing and mêlée are clever and work really well to my mind. Tempo and movement are making more sense, while allowing bases that are not in the front line to move has improved this aspect. It makes for a better look and feel to the game too.

I want to play it out over the weekend, and should be able to do so, while it is fresh in my mind and quite exciting.

Saturday, September 3, 2022

Klissow take two: Polemos Great Northern War (1)

The Battle of Klissow 1702 has become my initial test game for rules for the Great Northern War. This came about as the first troops for the conflict that I began painting were Swedes and Saxons, to which I added some Poles. It seemed obvious to make the battle a focus for trying out rules (and for 'raising' armies). It helps that it is is a really interesting battle to refight!

The battle was the third of the trio of Charles XII's initial, against-the-odds victories over armies of the three powers who had seized on the opportunity of his ascension to the throne as a chance to take down Sweden. I won't be describing the battle here, but have listed some references below, from books and online, for anyone wanting some background.

Late last year, Julian and I played out a game of the battle using Twilight of the Sun King; Part 1 and Part 2 reported on this blog for anyone interested. Yesterday, Polemos Great Northern War by Nick Dorrell, published by Bacuss Miniatures, was the plat du jour. I was fortunate to be joined by Stephen and Julian for the game.

The Polemos 'stable' of rules are written for 6 mm figures, but adapt easily to any figure scale. They 'all'# have two key aspects in common: the basis of all movement and actions is a base of figures and they use 'tempo points' and bidding to determine initiative and movement. In Polemos Great Northern War a base of figures represents around 400–600 infantry, 200–300 cavalry and 4–6 guns, so roughly a battalion, squadron (or two) and battery respectively. There is a good description of the rules via the link on Baccus6mm page to the Wargame Vault. I'll describe tempo and some of the other mechanics as part of this report.

#He writes based on owning and having read the Napoleonic (x2), Great Northern War and Ancient versions and now having used each of the first three of these four rulesets.

The game early on, viewed roughly from the west. Saxon defensive position at right, attacking Swedes at left, Polish in distance on the Saxon right.


There is a scenario for the battle in Polemos Great Northern War with options for the historical order of battle or a more stylised, points-based version. Naturally I opted for the historical version. I set up the table using the map in the Twilight of the Sun King scenario book, but scaled 1.5 times larger.

I have the original, 2005 edition of the rules—which shows how long this has been in ‘gestation’! The current edition looks to be same, as far as I can tell from the preview. It seems to be a reprint, with some reformatting to make it ‘mobile friendly’.

A clear map of the opening of the battle , c/- Wikimedia Commons. Our action began with the Swedish attack, so the distribution of forces matches pretty well with that shown here. The wooded area to the north is off-table.

(Above & below) End of Swedish phase of the first turn. Rehnsköld (Swedish right) has moved his cavalry towards the Saxon left, while Charles has directed Liewen to advance the infantry. Vellingk has turned some of his cavalry (Swedish left) to face Lubomirski’s Poles.

Tempo is a form of pip system. Each side’s C-in-C gets a number of tempo points based on the leader’s tempo rating (six for Charles, three for Augustus in this case) plus the score of a D6. This is done as the first action of each turn. Each side then allocates, in secret, a number of the resulting tempo points in a bid to win the imitative. In turn 1, Charles rolled a two, Augustus a four. Each side bid four and, since it was the first turn, the initiative went to the Swedes as the attacker.

The C-in-C can then allocate any remaining tempo points to one or more sub-commanders (this could be considered as prompting or ordering, perhaps). Any tempo points sent from the C-in-C are added to the sub-commander’s own tempo rating. Commanders then use the available tempo points to pay for actions by a base or group of bases in the same brigade, up to a full brigade, of his command. Actions cost less for the side with the initiative (tempo player) than the side without it (non-tempo player). A player can attempt to 'steal' the initiative so as to move out of sequence, but this costs a whopping four additional tempo points for any action.

This all sounds involved, but is quite straightforward in practice and works reasonably well. That said, I don’t generally like pip points as a command mechanic. This was/is no exception. More on that later.

Bombardment is the next phase after tempo bidding and allocation of tempo points. In turn 1, the Saxons opened up with their four field guns, firing at Vellingk's cavalry, inflicting a level of shaken on one base and resulting in any base/group of bases requiring an additional tempo point to complete any action.

As tempo player, the Swedes now moved. Charles had sent his remaining four tempo points to Liewen, giving the latter a total of five. This left Rehnksöld and Vellingk with their own, three tempo points only. The Swedish infantry (Liewen) advanced; five brigades, costing one tempo point each. Rehnksöld moved his first-line brigade two moves (costing three tempo points). Vellingk used two of his points to turn two bases towards the Poles (normally costing one, but with an extra one required due to the artillery bombardment), losing the third.

For his part, Augustus sent his three remaining tempo points to Lubomirski, giving him a total of five. Sieniakwski, the commander of the second Polish line, Flemming and Steinau (commanding Saxon right and left wings respectively) had their own two tempo points only, while Schulenburg (with the Saxon infantry/centre) had just the one. Flemming advanced his first brigade of cavalry to cross the stream (requiring two tempo points as non-tempo player). Lubomirski used his five tempo points to make a double-move with a brigade of winged hussars/pancerni.

In their phase the Saxo-Poles advanced some of their cavalry towards Vellingk's (Swedish left).

Turn two

The Swedes again won the initiative, Saxon artillery bombardment was ineffective, the Swedish infantry continued to advance, while Vellingk's lead cavalry charged the Poles, giving our first adjudication of charging and close action.

Like tempo, the procedure charging/close action took a bit of time to work out, but was pretty straightforward once we had. Charges are declared in movement, but conducted in the 'range combat' phase. A charge may be conducted and paid for (in terms of tempo) as a group, but is calculated a base at a time. Each side adds the score of a die roll to their base factor for charging/receiving, a few modifiers are used (such as some match-ups, quality, shaken, flank and rear) and the difference determines the result. This can range from refuse to charge, charge/counter-charge, charge/receive at halt shaken, defender break (three levels of shaken)/charger pursues.

Once/if a charge goes in the outcome is similarly based on modified die rolls (for factors such as match up of troops, quality, shaken, support, outflank) and the result determined by the difference in the scores. Results here range from continue mêlée, loser recoils shaken, loser receives three levels of shaken and routs.

(Above & below) After the first charges of Vellingk's Swedish squadrons, then charges in the Saxo-Polish turn, a squadron (banner or two) of winged hussars has broken (bottom left of top photo), a pancerni squadron (banner or two) has been forced back, while another is still in combat.


Turn three

The cavalry action continued on the 'eastern' flank, with a further action between Swedes and Poles and also a mêlée between Flemming's lead Saxon brigade and the Södra Skånska regiment of Vellingk's command. Meanwhile, in the centre, the Swedish infantry reached the edge of the stream/swamp...

At the eastern end of the battlefield, the cavalry mêlées between Swede and Pole continued with wins and losses; mainly in favour of the Swedes, but not entirely...

A little further west, on the Saxon right, the Södra Skånska regiment of Vellingk's lead brigade was largely successful against Flemming's first brigade, but not entirely...

Meanwhile, in the centre, the Swedish infantry close on the Saxon line...

To be continued

We had played three turns in about as many hours, including some set-up time, a lot of reading and checking the rules, plus loads of banter and diversions. Julian and I considered doing one more turn after Stephen had to leave, but decided to leave it as it was likely to be a big one. We will reconvene in two or three weeks to complete the game and expect that this will take two or three more turns.

Impressions of the rules

Polemos Great Northern War are definitely 'in play' for me. I liked the overall feel of the rules. Once one has procedure clear they are easy to understand and to play. I especially liked that combat is done by base, so that mêlées break into a mingled mass of squadrons (and presumably battalions) here and there, as opposed to the more stylised representation of brigade on brigade. Having results determined by difference in scores is another mechanic that I like. As one who never enjoys a big effect of the random factor I am pleased that randomness is there, but the effect is not huge. It will be interesting to see how this goes when we get infantry v infantry fire and combat in our next session.

I am less certain about tempo and movement. They points and cost do not seem to be correct. In three turns of play we had far, far more troops that remained static than moved. As Swedish player, I was not as badly affected as the Saxons and Poles, but was still restricted and unable to advance the infantry, quickly and together, as I would have liked (and they did historically).

Julian and I discussed this after we stopped for the day. It could easily be rectified by having a base factor determined by the number of brigades (or even bases) in a command with additional points available from commanders. This is similar to the approach used in GåPå. We won't change anything until we have at least finished this game, but it is a distinct possibility.

Importantly for me, unless something changes, I have three sets of rules for the Great Northern War that I reckon I'm happy to use and that allow for different levels/scale of action. Twilight of the Sun King for brigade-scale actions, Polemos Great Northern War for unit-scale actions with a greater level of simplicity and GåPå for unit-scale actions with more detail.  

Thanks

It was a really enjoyable game/session and first go with Polemos Great Northern War. We all enjoyed ourselves and it was great to get on top of the mechanics with discussion and input from three people. Thanks Stephen and Julian for making the trek to the 'Ralph Fisher memorial room'.

I look forward immensely to part two.

Background

Rules

Polemos Great Northern War, 2005. https://baccus6mm.com/catalogue/WargamesRules/GreatNorthernWar/

Scales

Base width represents ~200 m, actual base width 50 mm, game area 1.5 m x ~1.2 m

Infantry: base represents 400–600 men, with generally 1–2 bases per unit.
Cavalry: base represents 2–3 squadrons, 200–300 men, with 1–5 bases per unit (most commonly 1–3).
Artillery: base represents 4–8 guns, with a battery represented by a single base
.

Figures (all 1/72)

Saxon

  • Infantry Mars Saxon infantry.
  • Cavalry Strelets Russian Dragoons of Peter I with a few Polish dragoons using same figures making up the numbers.
  • Artillery Zvezda Swedish Artillery of Charles XII and Mars Polish field artillery (standing in as the Saxon 3 pdr guns).

Polish-Lithuanian

  • Hussars Zvezda Polish Winged Hussars.
  • Pancerni Orion Polish Winged Hussars (with a few Tartars from
  • Mars Lithuanian Tartars (1st half of the XVII century) making up the numbers.Reitars Strelets Reitars of Charles XII.
  • Wallachian light cavalry Mars Polish 'Lisovchiki' (1st half of the XVII century).


Swedish

  • Infantry mix of Mars Swedish infantry, Strelets Swedish Infantry of Charles XII & From Narva to Poltava.
    Cavalry Strelets Lieb-Drabants of Charles XII and Zvezda Swedish Dragoons of Charles XII.